Installing a tankless water heater in Oceanside, CA, can greatly improve your home’s energy efficiency and hot water supply. You’ll want to start by evaluating your household’s specific hot water needs to choose the right unit. Once you’ve made your selection, the preparation and installation process will require careful attention to detail. Let’s examine each step to guarantee a successful setup that meets both your needs and local regulations.
Assessing Your Hot Water Needs
How do you determine the right size tankless water heater for your home?
Start by evaluating your household’s hot water needs. Think about the number of people living in your home and their daily routines. Consider peak usage times, like mornings when everyone’s showering or evenings when you’re washing dishes.
Next, list the appliances that require hot water, such as showers, sinks, and washing machines. Each fixture has flow rates, typically measured in gallons per minute (GPM). Add up these rates during peak usage to understand your demand.
Lastly, check the temperature rise you’ll need—this is the difference between the incoming water temperature and your desired output temperature. By consulting with Oceanside’s experts, you can find a tankless model that meets your specific requirements. Use this information to find a tankless model that meets your specific requirements. By carefully evaluating your hot water needs, you’ll guarantee you choose a unit that provides sufficient supply without running out.
Choosing the Right Tankless Water Heater
When selecting the right tankless water heater for your home, what features should you prioritize?
First, consider the flow rate, which measures how many gallons of hot water the unit can provide per minute. You’ll want a heater that meets your household’s peak demand.
Next, look for energy efficiency ratings; a higher Energy Factor (EF) means lower utility bills and a smaller carbon footprint.
Don’t forget about the type—gas or electric—based on what’s available in your area and your personal preferences.
Furthermore, check the warranty and reliability of the brand; a solid warranty can save you money in the long run.
Finally, assess the unit’s size and installation requirements to guarantee it fits your available space. Additionally, consider how water filtration solutions can enhance the quality of your home’s water supply, ensuring that your tankless system operates efficiently.
Preparing for Installation
Once you’ve chosen the right tankless water heater for your home, preparing for installation is the next important step.
First, gather all the necessary tools and materials, including a drill, screwdrivers, pipe wrenches, and the installation manual. Make certain to review the manufacturer’s guidelines for specific requirements.
Next, clear the installation area. Verify there’s enough space around the heater for ventilation, access, and future maintenance.
Check local building codes and permits to verify compliance, as these can vary in Oceanside, CA.
You should likewise consider the water and gas lines’ locations, making any necessary adjustments beforehand. It’s crucial to ensure that the installation aligns with local building codes to avoid any legal issues.
If you’re not comfortable with the installation process or if it requires complex plumbing or electrical work, don’t hesitate to contact a professional like Thompson Plumbing Heating & Air Conditioning.
They can guarantee your heater is installed safely and efficiently, giving you peace of mind.
Installing the Tankless Water Heater
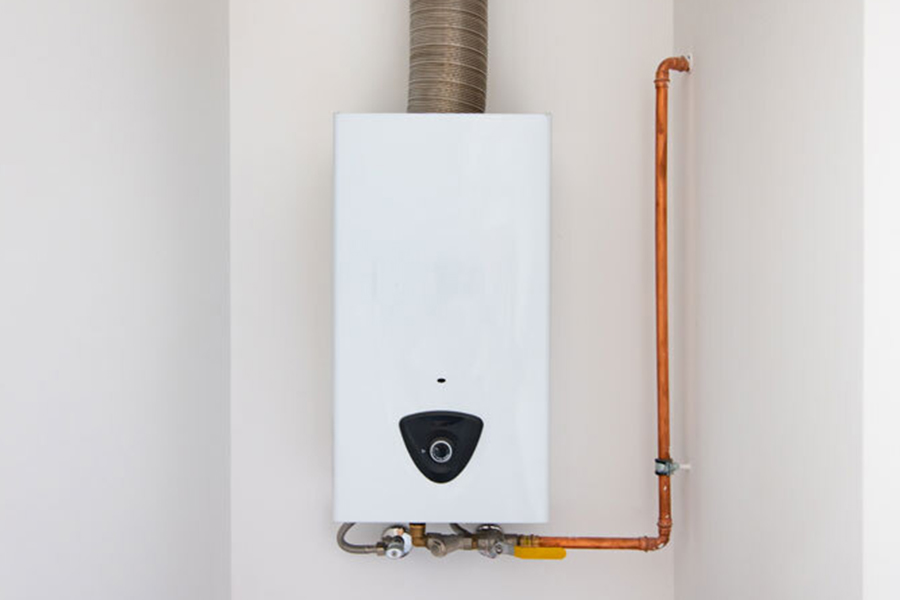
Begin by carefully positioning the tankless water heater in the prepared area, guaranteeing it aligns with the designated water and gas lines.
Once it’s in place, secure it to the wall using appropriate mounting brackets.
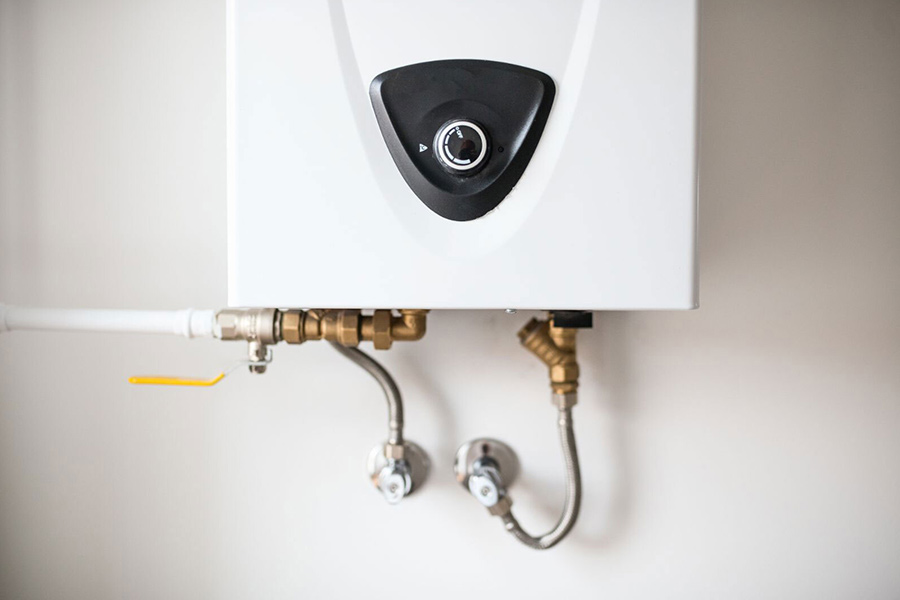
Next, connect the cold water inlet and hot water outlet pipes, tightening the fittings to prevent leaks.
Don’t forget to attach the gas line if your unit requires gas; make sure to use Teflon tape for a tight seal.
After you’ve made the necessary connections, install the venting system.
This step is vital for safety, so follow the manufacturer’s guidelines closely.
Confirm all connections are properly sealed and inspect for any gas leaks using soapy water.
Finally, turn on the water supply and gas line, and check for any leaks at the connections.
It’s important to ensure that the gas line installation follows strict safety protocols for your peace of mind.
You’re now ready to move on to the testing and maintenance phase.
Testing and Maintenance Tips
To guarantee your tankless water heater operates efficiently and lasts for years, regular testing and maintenance are vital.
Here are some important tips to keep in mind:
- Flush the system: Mineral buildup can affect performance. Flush the heater annually to remove sediment.
- Check the filters: Clean or replace filters regularly to make sure water flow isn’t obstructed.
- Inspect connections: Periodically examine all connections for leaks or corrosion, tightening any loose fittings.
- Test the temperature: Make certain your heater maintains the right water temperature. Adjust the thermostat as needed for peak performance.
Conclusion
You’ve just transformed your home into a hot water haven that even Poseidon would envy! With your tankless water heater installed, you’ll enjoy endless, sizzling showers and dishes that sparkle like diamonds. Just remember, regular maintenance is your trusty sidekick in keeping this marvel running smoothly. So, don’t let dust settle; give it some love! With a little care, your tankless treasure will provide hot water glory for years to come. Immerse yourself and enjoy!