
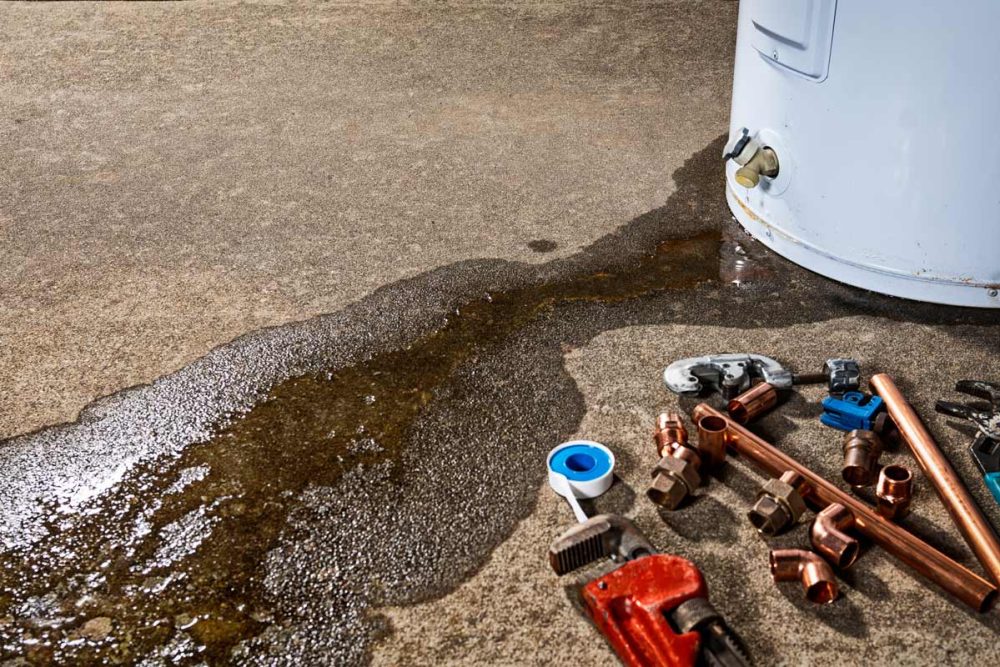
It’s quite a coincidence that you noticed your water heater leaking while considering a home maintenance checklist. You’re not alone, and fixing it isn’t as intimidating as it might seem. First, you’ll want to identify the leak’s source, such as the temperature, pressure relief, or drain valve. But before you even think about repairs, there’s a vital step to guarantee your safety and prevent further mess. What should you do first? Understanding this initial action can save you from potential mishaps and costly repairs.
Identify the Leak Source
Begin by closely inspecting your water heater to determine where the leak originated. Start at the top of the unit and work your way down. Check all connections, including those leading to the cold water inlet and hot water outlet. Look for any visible signs of moisture or corrosion around these fittings. If you notice water pooling, it might be due to a loose or faulty connection.
Next, examine the pressure relief valve on the side or top. This valve releases excess pressure and can sometimes leak if it’s not functioning correctly. Verify it’s tightly sealed and look for any dripping or moisture around it.
Move on to inspect the drain valve located at the bottom of the tank. This valve is designed for maintenance but can sometimes fail, leading to leaks. Feel around the valve for moisture or wetness.
Turn Off the Power Supply
Before you proceed with any repairs, confirm safety by turning off the power supply to the water heater by switching off the circuit breaker for electric models or turning the gas valve to the ‘off’ position. This vital step prevents accidents and guarantees a safe working environment. Follow these instructions to turn off the power effectively:
- Locate the Circuit Breaker or Gas Valve: Identify the main electrical panel for electric heaters or the gas control valve for gas heaters. The circuit breaker panel is typically found in basements or utility areas, while the gas valve is near the heater.
- Switch Off the Circuit Breaker: Find the breaker labeled ‘Water Heater’ for electric models and flip it to the ‘off’ position. This action cuts off the electricity supply, minimizing any risk of electrical shock.
- Turn the Gas Valve to ‘Off’: If you have a gas model, locate the gas valve and rotate it to the ‘off’ position. This guarantees no gas flows to the heater, preventing potential gas leaks.
- Verify Power Disconnection: Double-check that the power is completely off. For electric models, use a voltage tester; for gas models, ensure the valve is correctly positioned.
Shut Off the Water Flow
Locate and close the cold water supply valve above the unit to halt the water flow to your leaking water heater. Typically, this valve is a lever or wheel-type handle. Turn the valve clockwise to shut it off completely. This action stops additional cold water from entering the tank, preventing further leakage and potential water damage.
Next, verify the valve is fully closed. Check for any remaining leaks by carefully listening for water flow or feeling for vibrations in the pipes. If water drips from the heater, inspect for alternate shut-off valves along the pipe that may not be fully closed and tighten them accordingly.
If the primary valve is stuck or difficult to turn, gently apply some lubricant to ease the motion. Use a wrench if necessary, but exercise caution to avoid damaging the valve. Once you’re confident the water flow has ceased, double-check by turning on a nearby hot water faucet. If the water stops flowing after a brief period, your shut-off is successful.
Drain the Water Heater
After ensuring the water supply is shut off, attach a garden hose to the drain valve at the bottom of the water heater. Follow these steps to drain the unit safely:
- Direct the Hose: Lead the garden hose to a convenient drainage location, such as a floor drain or an outdoor area, ensuring it’s lower than the water heater to facilitate gravity-fed draining.
- Open the Drain Valve: With the hose secure, carefully open the drain valve by turning it counterclockwise. This will start the flow of water out of the heater. Be prepared for hot water; use protective gloves if necessary.
- Release Pressure: Open a hot water faucet elsewhere, like a kitchen or bathroom sink. This helps relieve pressure in the system and allows the water to drain more quickly and smoothly from the heater.
- Monitor the Process: Monitor the draining water, ensuring it flows steadily and doesn’t leak from the hose connection. This process may take some time, so be patient and ensure all water is fully drained before proceeding.
Inspect Temperature & Pressure Valve
Start by locating the temperature and pressure (T&P) relief valve, typically found on the side or top of the water heater, to confirm it’s functioning properly. This valve prevents excessive pressure and temperature by releasing water if necessary, so it’s essential for safety.
First, verify the water heater is off and cooled down. Wearing safety gear, like gloves and goggles, is wise. Place a bucket under the discharge pipe connected to the T&P valve to catch any released water. Gently lift the valve’s lever to test it. The valve works correctly if water flows out and stops when you release the lever. If it doesn’t release water or continues to leak, it might be faulty and need replacement.
Inspect the valve for any signs of corrosion or mineral build-up, as these can indicate wear or failure. If you notice corrosion, consider replacing the valve. When replacing, purchase a valve compatible with your specific water heater model. Install the new valve by threading it securely, using pipe thread sealant for a tight fit. Confirming the T&P valve works properly is essential to maintaining your water heater’s safety and functionality.
Check Pipes and Connections
Begin by examining the water heater’s visible pipes and connections for signs of leaks, corrosion, or loose fittings. Pay close attention to these areas, as issues here can often be the source of leaks. To guarantee you address all potential problems, follow these steps:
- Inspect the Inlet and Outlet Connections: Check where the cold water enters and where the hot water exits the heater. Look for drips or moisture that might indicate a leak.
- Examine the Pipe Joints: Use a flashlight to see if there is rust or corrosion at the joints. Over time, this can weaken connections and lead to leaks.
- Tighten Loose Fittings: If you find any loose connections, use a wrench to tighten them gently. Be cautious not to overtighten, as this can cause damage.
- Check for Cracks or Breaks: Inspect the pipes for any visible cracks or breaks. If you find any, they must be replaced promptly to prevent further issues.
Examine the Drain Valve
To guarantee your water heater’s efficiency, closely inspect the drain valve for any signs of leaks or malfunction. Begin by locating the drain valve at the bottom of the water heater tank. It’s typically made of brass or plastic. Carefully examine the area around the valve for moisture or water pooling, which indicates a leak. If you notice persistent issues, this could signal the need for water heater repair to address deeper problems affecting its performance.
Next, position a bucket or container under the valve to catch water. Turn the valve counterclockwise to open it slightly and observe the water flow. If water drips or streams even when the valve is closed, the valve may be faulty. A malfunctioning valve can lead to continuous water leakage, affecting the heater’s efficiency.
Inspect the valve for visible cracks or damage. If the valve is plastic, it may be prone to wear over time, requiring replacement. Evaluate whether sediment buildup is preventing a proper seal. Sediment can often be flushed out by fully opening the valve and allowing water to run through.
Finish by securely closing the valve. If problems persist, consider replacing the valve to restore your water heater’s functionality.
Tighten Loose Fittings
Check all the connections and fittings around your water heater to guarantee they’re snug and not contributing to leaks. Loose fittings can often be the culprits behind annoying drips. Here’s how you can tighten them effectively:
- Identify the Connections: Examine the areas where pipes connect to the water heater. Common spots include the cold water inlet and the hot water outlet. Look for any visible signs of moisture or corrosion.
- Gather Your Tools: Use an adjustable wrench or pipe wrench. Ensure it fits your fittings’ size to avoid causing any damage. A crescent wrench works well for smaller connections.
- Tighten the Fittings: Carefully turn the wrench clockwise to tighten. Avoid over-tightening, as this can strip threads or crack fittings. Apply just enough pressure to feel resistance.
- Test for Leaks: Turn on the water supply and observe once the fitting is tightened. Check for any persistent leaks. If water is still trickling from the fitting, inspect for other issues.
Repair or Replace Components
When you’ve tightened all the fittings and the leak persists, assess whether specific components need repair or replacement. Start by examining the temperature and pressure (T&P) relief valve. If it’s dripping, it may be faulty. Turn off the power and water supply, and use a wrench to unscrew the valve. Replace it with a new one, confirming it’s the correct type for your heater.
Next, inspect the drain valve at the bottom of the tank. If it’s leaking, it might not be sealing properly. Drain the tank and remove the valve. Install a new drain valve using Teflon tape on the threads for a secure fit.
Look for corrosion or damage on the anode rod. This component protects the tank from rust. If it’s heavily corroded, unscrew it using a socket wrench and replace it with a new rod. Confirm the new rod is securely fitted to prevent future leaks.
Refill and Test the System
After guaranteeing that all components are securely installed, slowly turn on the water supply to refill the tank. Doing this gradually is essential to prevent any unnecessary pressure on the system. As the tank fills, follow these steps to guarantee everything is functioning correctly:
- Monitor for Leaks: Carefully inspect around the base and connections. Look for any signs of dripping or moisture. Stop the process, tighten connections, or replace faulty parts if you notice leaks.
- Release Air: Open a nearby hot water faucet to allow trapped air to escape. This step prevents airlocks and helps the tank fill evenly. Keep the faucet open until a steady stream of water flows.
- Check the Pressure Relief Valve: Lift the valve’s lever to confirm it operates smoothly and releases water. This guarantees the safety feature is responsive, protecting against excess pressure.
- Power On the Heater: Once the tank is full and leak-free, restore the power supply or relight the pilot light. Listen for any unusual noises indicating potential issues.
Conclusion
You’ve successfully tackled a leaking water heater by systematically addressing each step. About 12% of US residential energy costs go to water heating. By maintaining your water heater, you’re not just preventing leaks but optimizing energy use and saving money. Make certain regular inspections to catch issues early. With these steps, you’re safeguarding your home and wallet. Keep this guide handy for future reference, and always prioritize safety and efficiency in your maintenance routine.
Frequently Asked Questions
What Are Common Signs That My Water Heater Is Leaking?
Check for water puddles around the heater’s base. Listen for hissing sounds indicating pressure issues. Feel for moisture on the tank’s surface. Inspect for rust or corrosion. Verify temperature and pressure relief valves aren’t faulty.
Can a Leaking Water Heater Be Safely Repaired by a Homeowner?
While expertise and caution juxtapose your enthusiasm, you can safely repair a leaking water heater by turning off the power, draining the tank, inspecting connections, and replacing faulty parts. Ascertain safety first; otherwise, consult a professional to serve others effectively.
How Long Does It Typically Take to Repair a Leaking Water Heater?
You’ll typically spend 1 to 3 hours fixing a leaking water heater. Diagnose the issue, gather tools, shut off power and water, repair or replace faulty parts, test for leaks, and guarantee proper operation.
What Tools Are Needed to Fix a Leaking Water Heater?
You’ll need a wrench, pipe cutter, Teflon tape, screwdriver, bucket, and towels. Shut off power and water. Drain the tank, tighten fittings, replace faulty valves, and wrap connections with tape to prevent future leaks.
When Should I Consider Replacing My Water Heater Instead of Repairing It?
When your water heater’s older than time itself or floods like a mini ocean, replace it. First, assess its age. Then, check for persistent leaks. Finally, consider energy efficiency. Your decision aids in saving resources for others.